
To maintain the optimal condition of your artificial turf, occasional repairs may be necessary. This comprehensive guide provides detailed steps to help you successfully repair tears, burns, and loose seams in your artificial turf. By following these instructions, you can ensure the longevity and visual appeal of your turf.
1. Assessing the Damage:
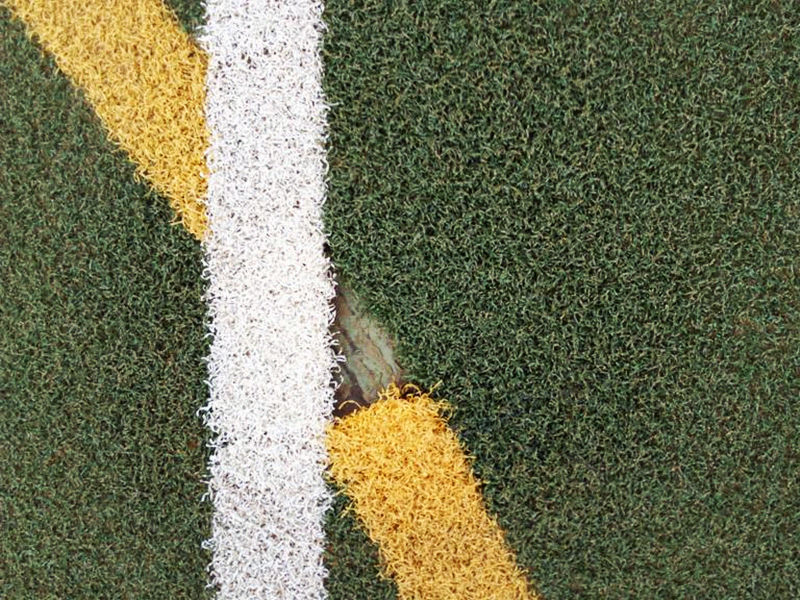
Thoroughly inspect your artificial turf to identify areas in need of repair, such as tears, burns, or loose seams. Evaluate the extent of the damage to determine the appropriate repair method. This step ensures that you address all the necessary repairs effectively.
2. Gather the Necessary Tools:
Before proceeding with the repairs, gather the essential tools that will facilitate the process. These tools include a utility knife, high-quality artificial turf glue, seam tape, and replacement turf patches. Having the right tools on hand will make the repair process more efficient.
3. Repairing Small Tears and Burns, Including Melting Spots:
For minor tears, burns, and melting spots on your artificial turf, follow these detailed steps:
a. Remove infill and debris from the damaged area. This will provide a clear workspace and improve the repair process.
b. Carefully remove the damaged artificial turf, cutting from the back as much as possible. This ensures a clean removal of the affected area.
c. Measure a replacement turf piece for a proper fit. Cut the replacement piece to match the damaged area accurately.
d. If necessary, repair the base under the damaged area to ensure a stable foundation for the new turf.
e. Place seaming tape along the edges of the damaged area and apply artificial turf glue to secure it.
f. Install the replacement turf piece, aligning it correctly with the surrounding turf.
g. Press and secure the repaired area using a carpet roller or a heavy object. Apply even pressure along the entire length of the seam to ensure proper adhesion and create a strong bond.
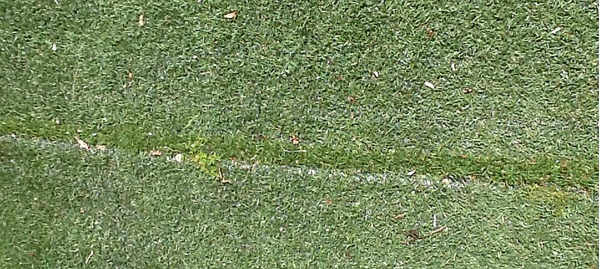
4. Fixing Loose Seams:
To repair loose seams in your artificial turf, follow these steps:
a. Remove infill and debris from the affected area to prepare it for repair.
b. If necessary, repair the base under the loose seam to provide a stable foundation.
c. Place seaming tape along the loose seam and apply artificial turf glue to secure it in place.
d. Press and secure the seam using a carpet roller or a heavy object. Ensure proper adhesion by applying even pressure along the entire length of the seam.
5. Professional Assistance:
For complex or extensive repairs, it is recommended to seek professional assistance. Trained experts possess the expertise to handle intricate repairs and achieve optimal results. If you feel uncertain or overwhelmed by the repair process, don’t hesitate to contact professionals who can assist you.
Conclusion:
Repairing artificial turf is a straightforward process that can be accomplished with the right tools and techniques. By following our detailed step-by-step guide, you can effectively fix tears, burns, and loose seams in your artificial turf, ensuring its longevity and visual appeal. Regular maintenance and timely repairs will help keep your artificial turf looking lush and vibrant for years to come. If you require professional assistance with complex repairs, reach out to our experienced team.