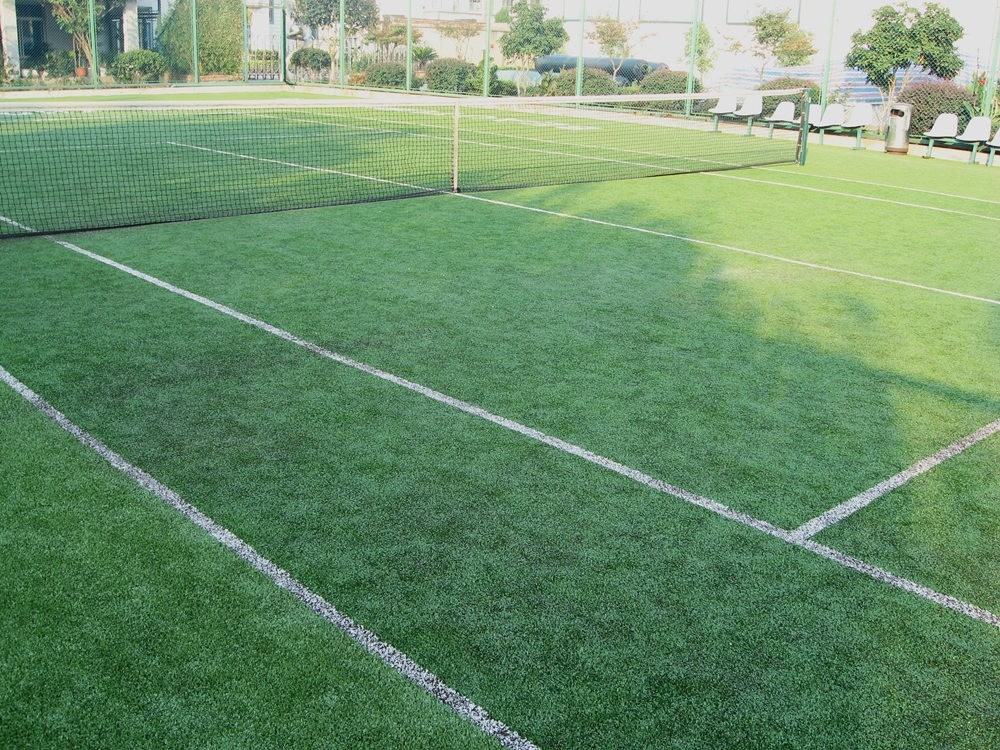
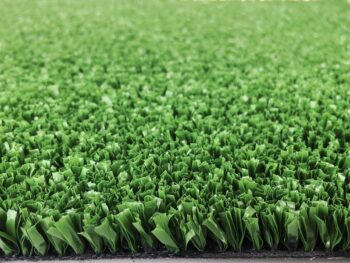
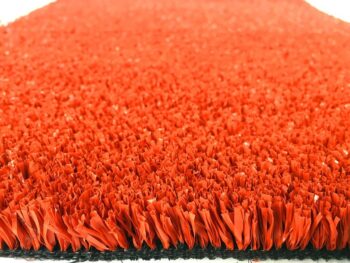
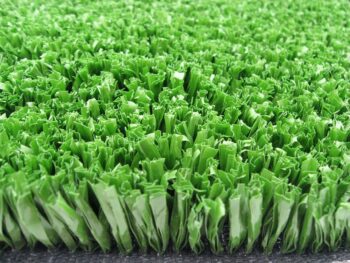
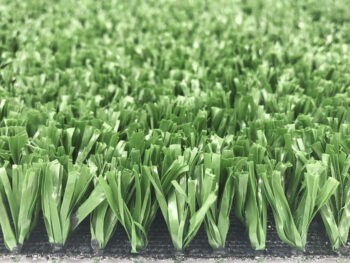
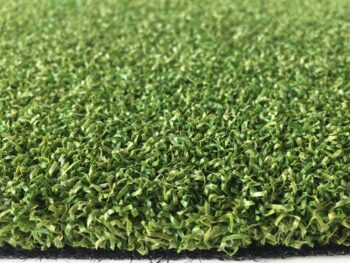
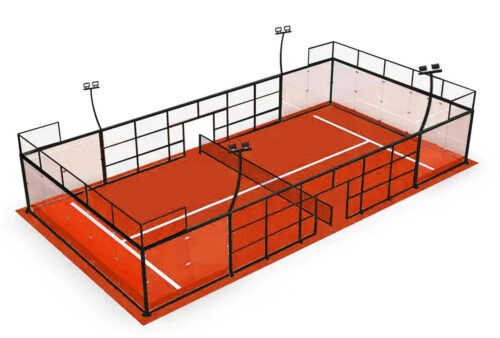
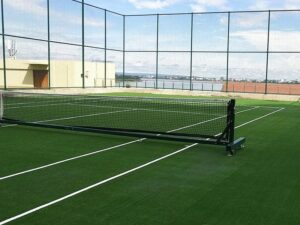
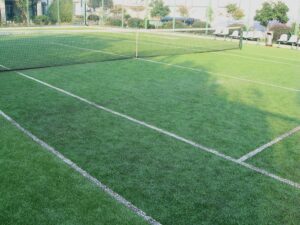
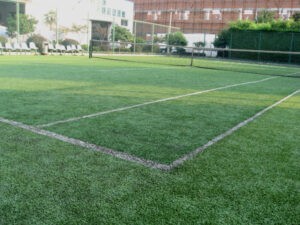
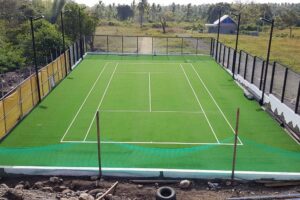
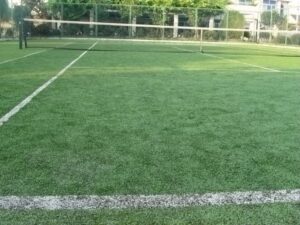
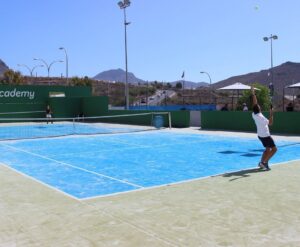
Using artificial grass as the tennis court surface is getting more and more popular in recent years. Synthetic tennis turf is not only with low-maintenance cost, but also provide a high standard of performance. It is totally different from clay or natural grass because artificial grass can be used all year round in every possible weather condition. These tennis courts are suitable for people of all ages and for different experience levels.
Process of Artificial Grass Tennis Court Construction
When comes to the artificial turf tennis court construction, we always recommend choosing a specialist who has years of experience in artificial turf installation. Professional construction of artificial turf tennis courts will provide problem-free with low maintenance costs for many years to come. Anyhow, if you want to learn the process of the tennis court construction, here are the easy-to-follow steps.
1. Determine the ideal location
Usually large, open areas are selected for the tennis court. It should be able to accommodate both singles and doubles tennis games. Once the location has been determined, the size of the tennis artificial turf can be confirmed.
By the way, the supplier should provide tennis turf with appropriate size to minimize the joins. Tennis artificial turf normally comes in 4 meters or 2 meters width, length made according to the tennis court size.
2. Sub-base preparation
Tennis court sub-base construction is the most important part of the overall artificial grass tennis court establishment process. The quality sub-base guarantees the smooth installation of artificial grass and the latter excellent playing experience. On principle, the sub-base is similar to the structure used for building roads. Therefore, if you don’t want to do the work as DIY, but want to have the best sub-base for artificial grass, then we recommend finding a proper construction company. The best solution is a company experienced in road construction in your area.
3. Line marking on the base
Mark tennis court dimensions on the base for further artificial grass white lines installation.
4. Post sockets
Following this, post sockets are installed in a minimum 750mm x 750mm x 600mm concrete foundation to location, level and strict tolerance. The net posts are not installed until the court is fully constructed and surfaced. However, once in place, they should always be slackened when not in use as this will prevent strain on the posts and nets and stop them from deteriorating over time.
5. Perimeter edging
Next, the perimeter of the court is set out to the required dimensions using either precast concrete edgings or block pavers, if preferred.
6. Fencing
Fence posts are installed flush with the outer face of the court perimeter edging. Traditionally, tennis courts are fenced with chain-link metal. This is popular with players as if the ball hits it will deaden. However, many public facilities are now using weldmesh as it is more robust and requires less maintenance. While it does have a longer life span, it isn’t always a favorite with players as the ball often bounces off it.
7. Lay the tennis turf
Lay out the rolls of artificial grass as loose pieces, cut to size and then connect with a special tape and glue. Cut and install the white tennis turf lines during this process as well.
8. Infill quartz sand
A sand infill should then be applied, Fill the artificial grass with dry, sieved round-grain quartz sand, in accordance with the manufacturer’s recommendations for the particular synthetic surface being installed.
Tennis Artificial Grass Products
Golf Products

